This post may contain affiliate links. When you purchase through links on my site, I may earn a commission at no cost to you. See my Privacy Policy for details.
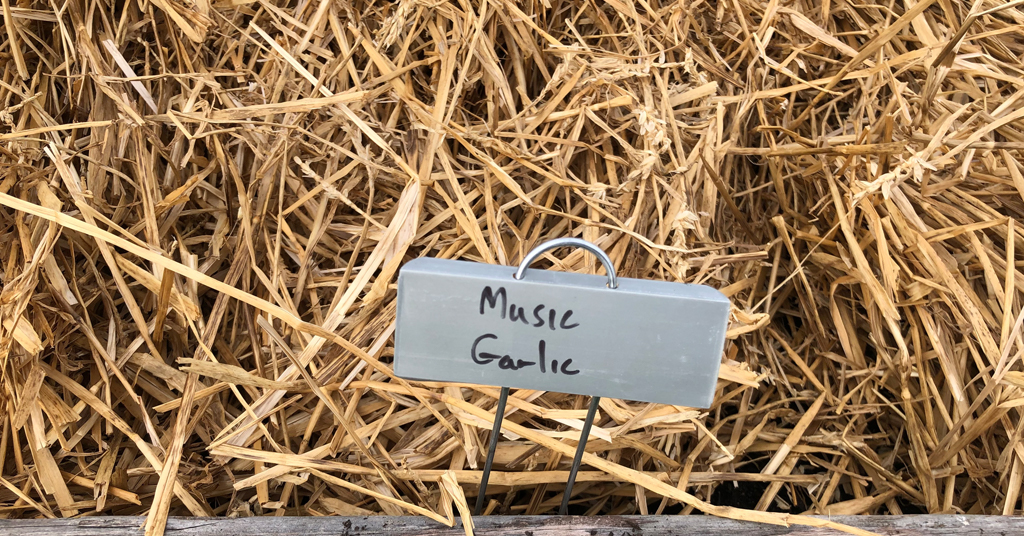
Garlic is an essential piece of my garden every year. Luckily it is a really easy crop to plant and be successful with. Today I am going to share my process on how to plant garlic. We use garlic in almost every meal we cook so I need to ensure I have enough garlic in my garden to last. This year I am also planting enough garlic that I will hopefully have enough seed garlic to not have to buy any for next year. This year I am planting Music Garlic from Hudson Valley Seed Company. Music garlic is a hardneck variety of garlic that has really large cloves and we like the taste of it when we are cooking with it. If you are looking to source your seed garlic here are some of the places I have purchased garlic in the past: Where to Buy Seed Garlic Online. Let’s jump right in and talk about how to plant garlic.
I am in Maryland in zone 7a. I always plant my garlic on the weekend near Halloween in my raised garden beds. Garlic likes to overwinter in cold conditions, this process is called stratification. The garlic bulbs use the cold to create strong, healthy growth. Planting them around Halloween for me still gives the garlic cloves enough time to build a strong root system before it gets too cold in my area.
How To Plant Garlic
How to plant garlic? Step-by-step process on how to plant garlic in your garden this fall. Follow the simple steps to enjoy delicious garlic straight from your garden.
Equipment Needed to Plant Garlic
Materials Needed
- Chicken Manure
- Seed Garlic
- Straw Mulch
- Compost
Step-by-Step Instructions for Planting Garlic
Step 1: Prep Garden Beds
Usually, by Halloween, I have pulled out all the plants from the previous garden year. I like to use a hoe to loosen up the soil in my raised bed. Using the hoe I then incorporate compost and some chicken manure into the soil of the raised bed I will be adding my garlic. This ensures I am adding back some of the nutrients that were used by the plants previously in the bed.
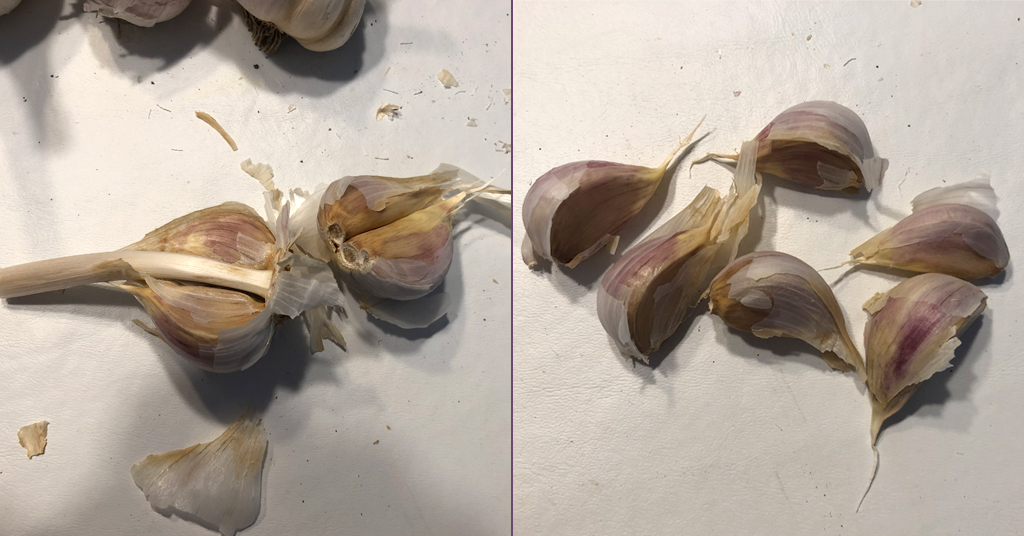
Step 2: Prep Garlic Cloves
Most seed garlic like the ones from Hudson Valley Seeds come in large bulbs. First, you need to break the garlic bulbs down into the individual cloves. When planting garlic, each clove will create its garlic bulb. So for each garlic clove you plant, you will get to harvest a full garlic bulb. Carefully break apart the garlic bulbs into individual garlic cloves. Keep the paper skins on as best as possible. Once broken into individual garlic cloves put them in a container that you can take with you out to the garden. I used a kitchen bowl.
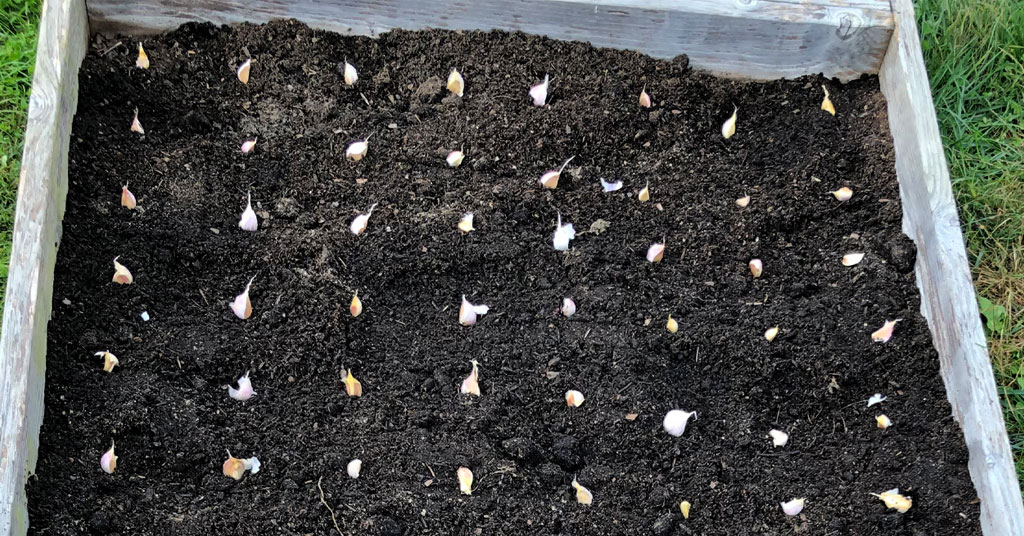
Step 3: Measure Out Garlic Spacing
Garlic should be planted 6 inches apart for ideal garlic bulb growth. Since I am planting in 4-foot by 8-foot raised garden beds I like to use a tape measure and a yardstick to ensure I am spacing my garlic cloves 6 inches apart. I start in one corner and move in 3 inches from both sides of the bed. This is where I will put my first row of garlic. I placed my first garlic clove on top of the soil in this location. Then I measure 6 inches from this clove in both directions establishing my pattern for laying out my cloves. I continue laying the cloves on top of the soil at the correct intervals.
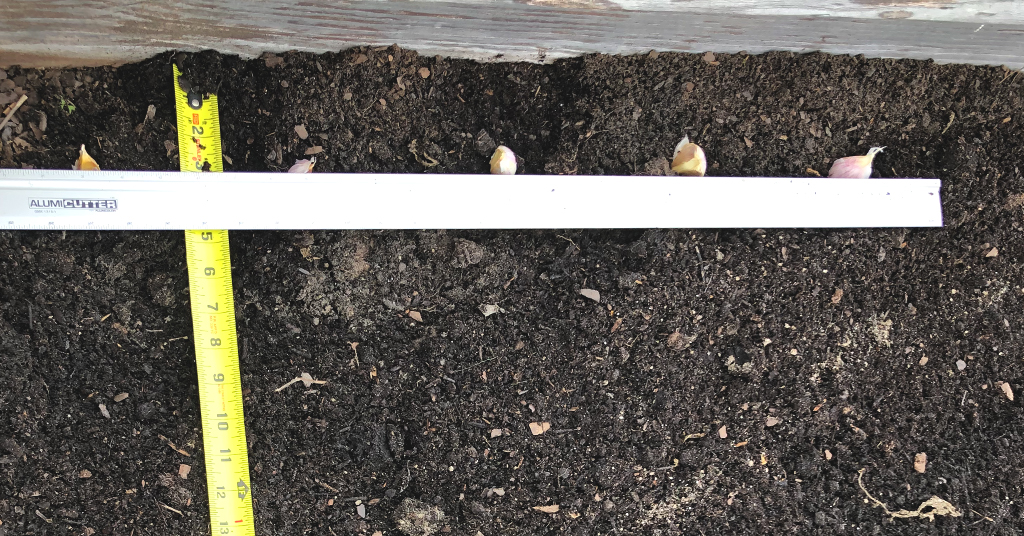
Step 4: Planting Garlic Cloves
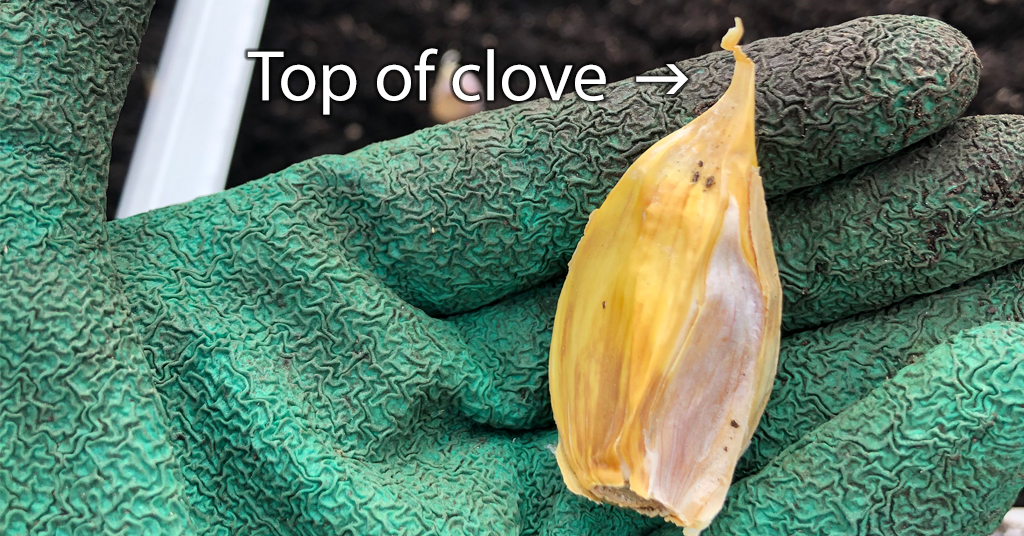
When planting the garlic cloves ensure the pointed side of the garlic is planted facing up. The flatter side of the garlic clove should be planted down as this is where the roots will grow out. Take a look at the photo if you are confused about what end should be pointing up. Use your garden spade to dig a hole so the garlic is planted 2 to 3 inches under the soil. Continue this process until you have planted all your garlic cloves under the soil at the correct spacing.
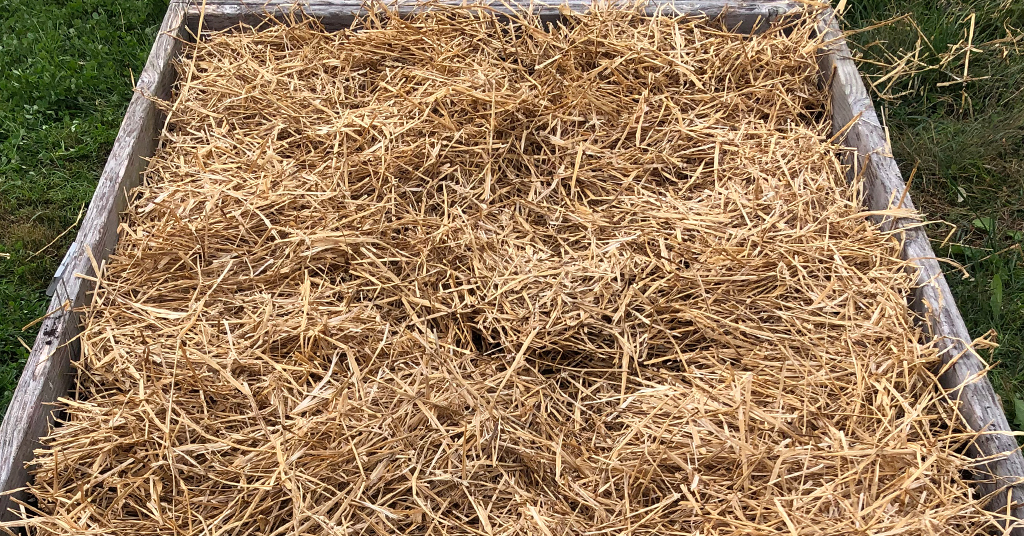
Step 5: Cover with Mulch
Once I have planted all my garlic, I cover the area with at least a 4-inch layer of straw mulch. This mulch helps to insulate the shallow roots of the garlic for the entire winter. I remove the straw mulch in early spring once the threat of freeze is over and new growth is appearing.
Step 6: Water and Fertilization
During the growing season, garlic needs frequent water and likes to be fertilized with a nitrogen-rich fertilizer like a blood meal. Work a teaspoon or two of blood meal gently into the soil near each plant.
Time to plant your garlic
I have been planting garlic for at least the past 6 years. I have always had success with the method of planting garlic provided above. Garlic is an essential part of my garden every year. I look forward to seeing their green stems sticking out of the straw in the early spring. It is great to know spring is coming after a long cold winter. I hope you use this how-to-plant garlic process to start some garlic in your garden this year. Let me know in the comments what type of garlic you have planted and how it did in your garden. Maybe I will try a new variety in the future.