This post may contain affiliate links. When you purchase through links on my site, I may earn a commission at no cost to you. See my Privacy Policy for details.
If you’ve bought baby plants from your local garden center and planted them in your garden, you’ve probably thought “How can I start my seeds?” While you certainly can plant some seeds directly into the ground, you’re going to need to start most of your garden’s seeds indoors during the late winter months.
Starting seeds indoors can seem a bit overwhelming at first. With the right supplies and care, you can discover the joy of starting plants from seeds. I prefer starting my seeds indoors. Not only was the process easier than I thought, but it expanded the selection of crops I could plant to entire varieties not carried at my local store.
It all starts with having the right supplies on hand.
What You Need to Start Seeds Indoors
You only need a few basic supplies for your setup to start seeds indoors. Here is a list of items that I use for seed starting.
- Seed Starting Soil Mix
- Seeds
- Containers with drainage holes
- Grow light or sunny window
- Water
- Somewhere warm to grow
- Organic Fertilizer
If you would like additional information on each of the items above see my article on Supplies You Need to Start Seeds Indoors.
Starting Seeds Indoors
Make sure the seeds you are planting are best suited for transplanting. Certain crops don’t like having their roots moved once established. Those are better off direct seeding into your garden.
Now that you have your supplies ready, it’s time to start seeding. Your first step will be to wet your Seed Starting Soil to get the right consistency.
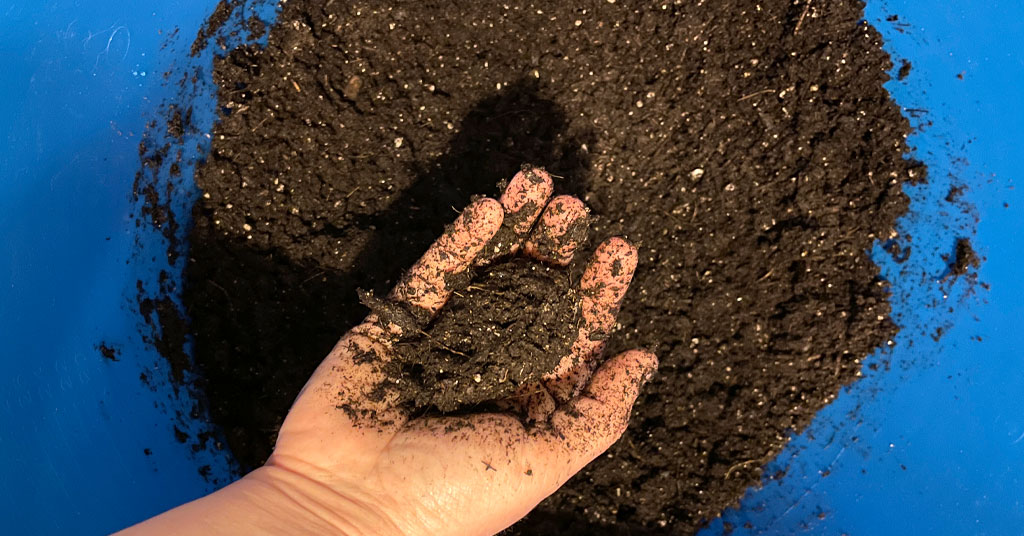
Soil Consistency
You want the consistency of the soil to be similar to a wet sponge. You can check the consistency of the soil by taking a handful of soil and squeezing it into a ball. If the ball stays together, your soil is wet enough. If the ball breaks into pieces, then you should add a bit more water to your soil. Try not to add too much water though. You don’t want your soil to be muddy. I have a large flexible tub in which I mix my soil. It allows me to mix large batches of soil at once since I start a lot of seeds at the same time.
Containers
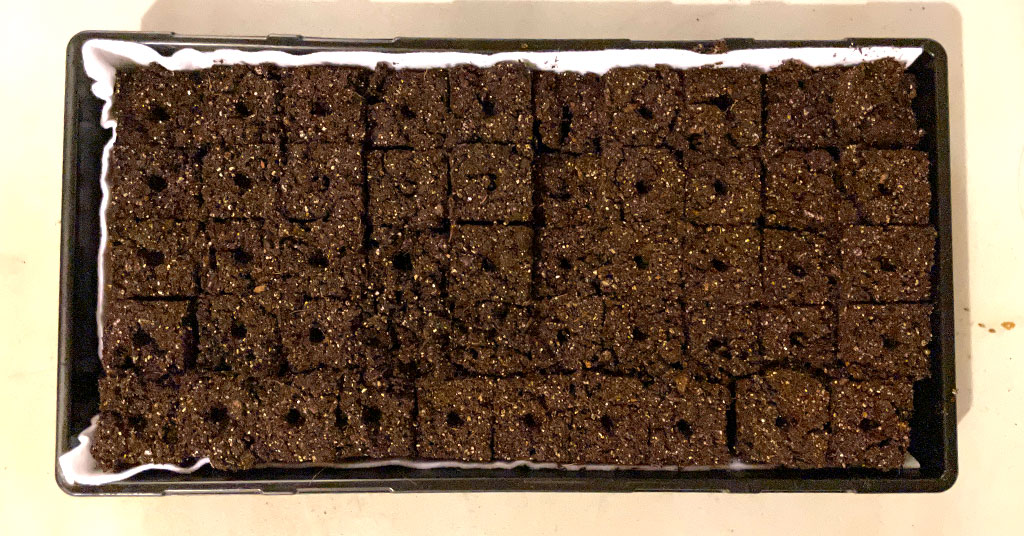
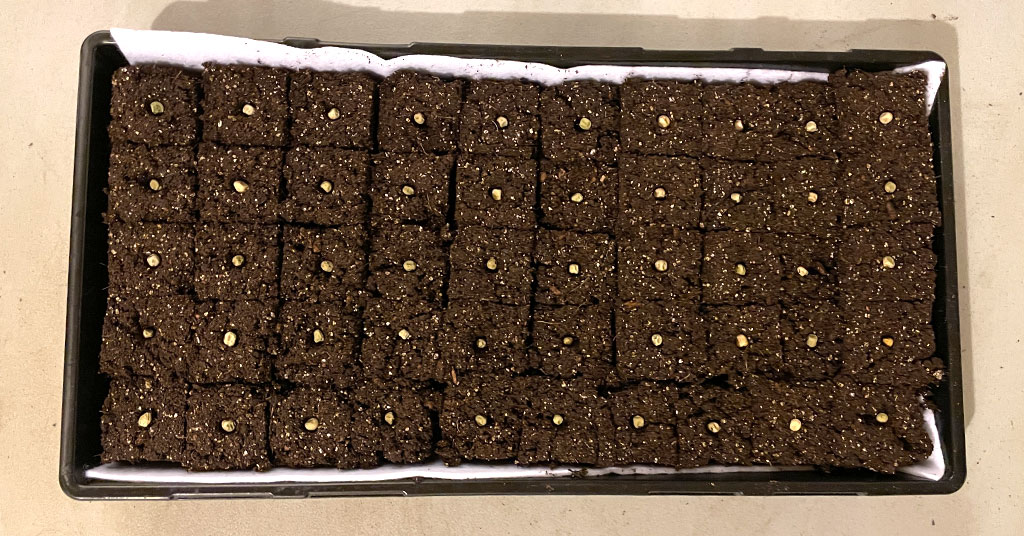
Next, you are going to want to put your soil into your containers. This year, I am starting my seeds in two different types of containers. I am using the typical seed cell trays you find at the store for some of my seeds. But for the rest, I am trying something new this year: soil blocks.
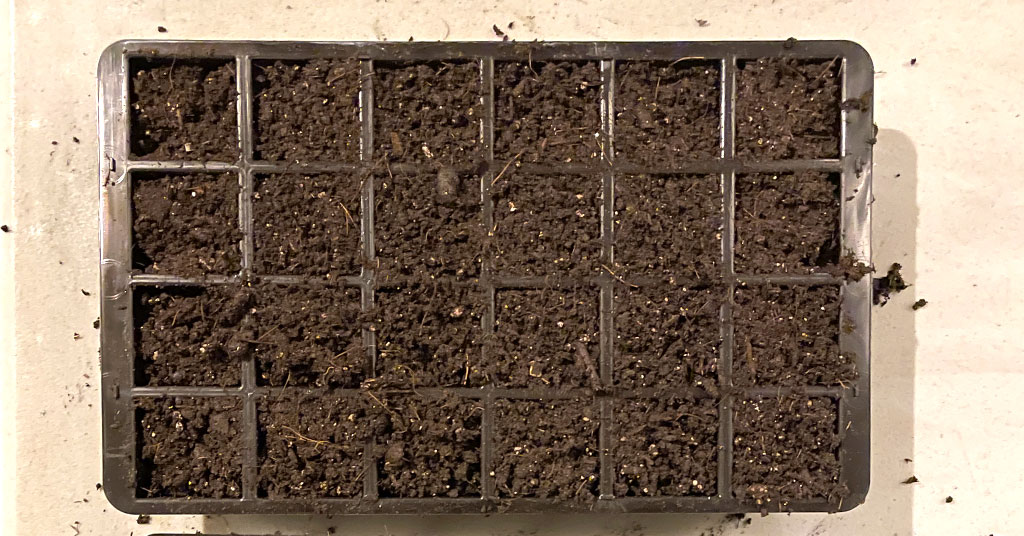
I used a soil blocker tool to make soil blocks out of my dirt and put them in 10×20 gardening trays. I was surprised at how quickly it was making soil blocks. The biggest benefit of using the soil blocks over the cell trays is more plants in a single tray. In the cell tray, I was able to plant 24 seeds. But with the soil block method, I got 50 blocks in a single tray. That’s just over double the seeds!
Plant Your Seeds
Now that your soil is in the containers, it is time to plant your seeds. I try to aim for putting 1-2 seeds per cell in the seed trays. This allows the seeds the most room to get themselves started. Some larger seeds like peas and beans are really easy to put 1 seed per cell but when you get smaller seeds like lettuce seeds it can be difficult to only get 2 seeds per cell. Don’t worry if you put more than 2 seeds per cell, you can always thin them once they germinate. If you are starting herb seeds (which can be tiny), you can just sprinkle them on top of your seed cell.
Cover your seeds with some soil and then lightly water them to help settle them in the soil. I like to use a spray bottle to spray some water across the top of each cell.
Taking Care of Your Seeds
After we’ve planted our seeds, it’s time to give them some light. The newly planted seeds will need about 14-16 hours of light a day. If you have a sunny window you can place them there. If you are like me and don’t have a sunny window available, you can put your seeds under grow lights. I have my seeds in the basement under grow lights. One thing I’ve learned when using grow lights is to keep the lights about 3 inches above the plants. This ensures the plants get as much light as possible. Also – don’t forget to raise the lights as your seeds grow to prevent the plants from getting too close to the lights.
Keeping your soil moist is very important for your seeds. I check the moisture level on my soil daily to ensure the soil is not too dry. Watering can be a delicate dance. If you give your seeds too much water, they can rot. If you give them too little water, they will dry out and die. I usually stick my finger in the soil to test its moisture level and see if I need to add additional water.
Seed Germination
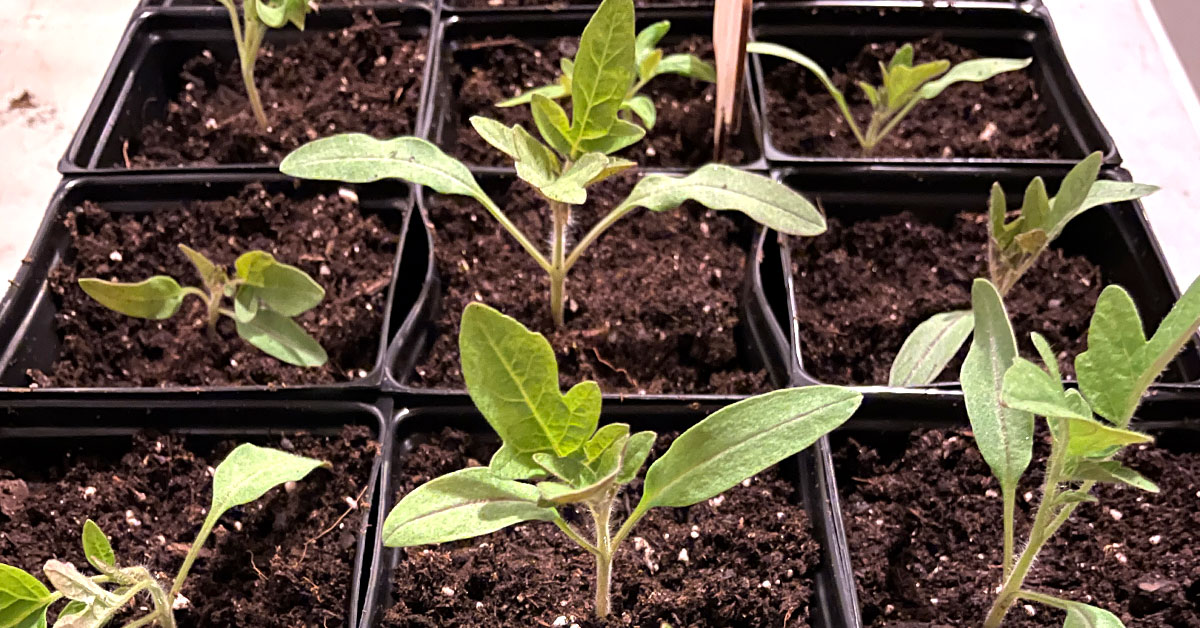
Now comes the hard part: waiting for germination. Some seeds take only a few days to germinate, while others can take weeks. Just be patient, and tend to your seedlings with water and light. Your efforts will be rewarded with those tiny little seedlings in no time.
Each seed variety has an ideal soil temperature to allow it to germinate. Make sure your seeds are not in a location where it is cold or drafty. Proper soil temperature can help your seeds to germinate right on time. Tomato and pepper seeds love their soil to be very warm. I bought a heat mat to put under my tomato and pepper seeds and it sped up germination. You don’t need to buy a heat mat to have successful seedlings, the plants may just take a bit longer to germinate without one. I start my seeds in the basement, so I want to ensure consistent soil temperature during germination.
Seed Starting Success
As your seeds grow into seedlings, you will need to make sure their roots have enough room to continue to grow. You may need to move your seedlings up into larger containers before you can plant them outside in your garden. When you move your seedlings up to a larger container, make sure to use potting soil instead of more seed starting mix. Unlike Potting soil, seed starting mix doesn’t contain the right amount of nutrients for a maturing plant. When moving a plant up into a larger container, I will also add some organic fertilizer to ensure the seedlings receive the right amount of nutrients they need to be successful.
Start Seeding!
Starting seeds indoors can be intimidating. With these tools and tips, you can dive right in and see just how rewarding the process is. Plus, starting seeds indoors will open up so many new varieties of crops for you to try in your garden (instead of being limited by only what is offered by your local store). This year, I started some flower seeds indoors for the first time. I’m excited to be able to expand into some other plant types to help attract more pollinators to my garden. I just love trying new things in my garden, and when starting from seed the selection can seem endless.
Did you make the jump into starting seeds indoors? Share your experiences and tips with me in the comments below!