This post may contain affiliate links. When you purchase through links on my site, I may earn a commission at no cost to you. See my Privacy Policy for details.
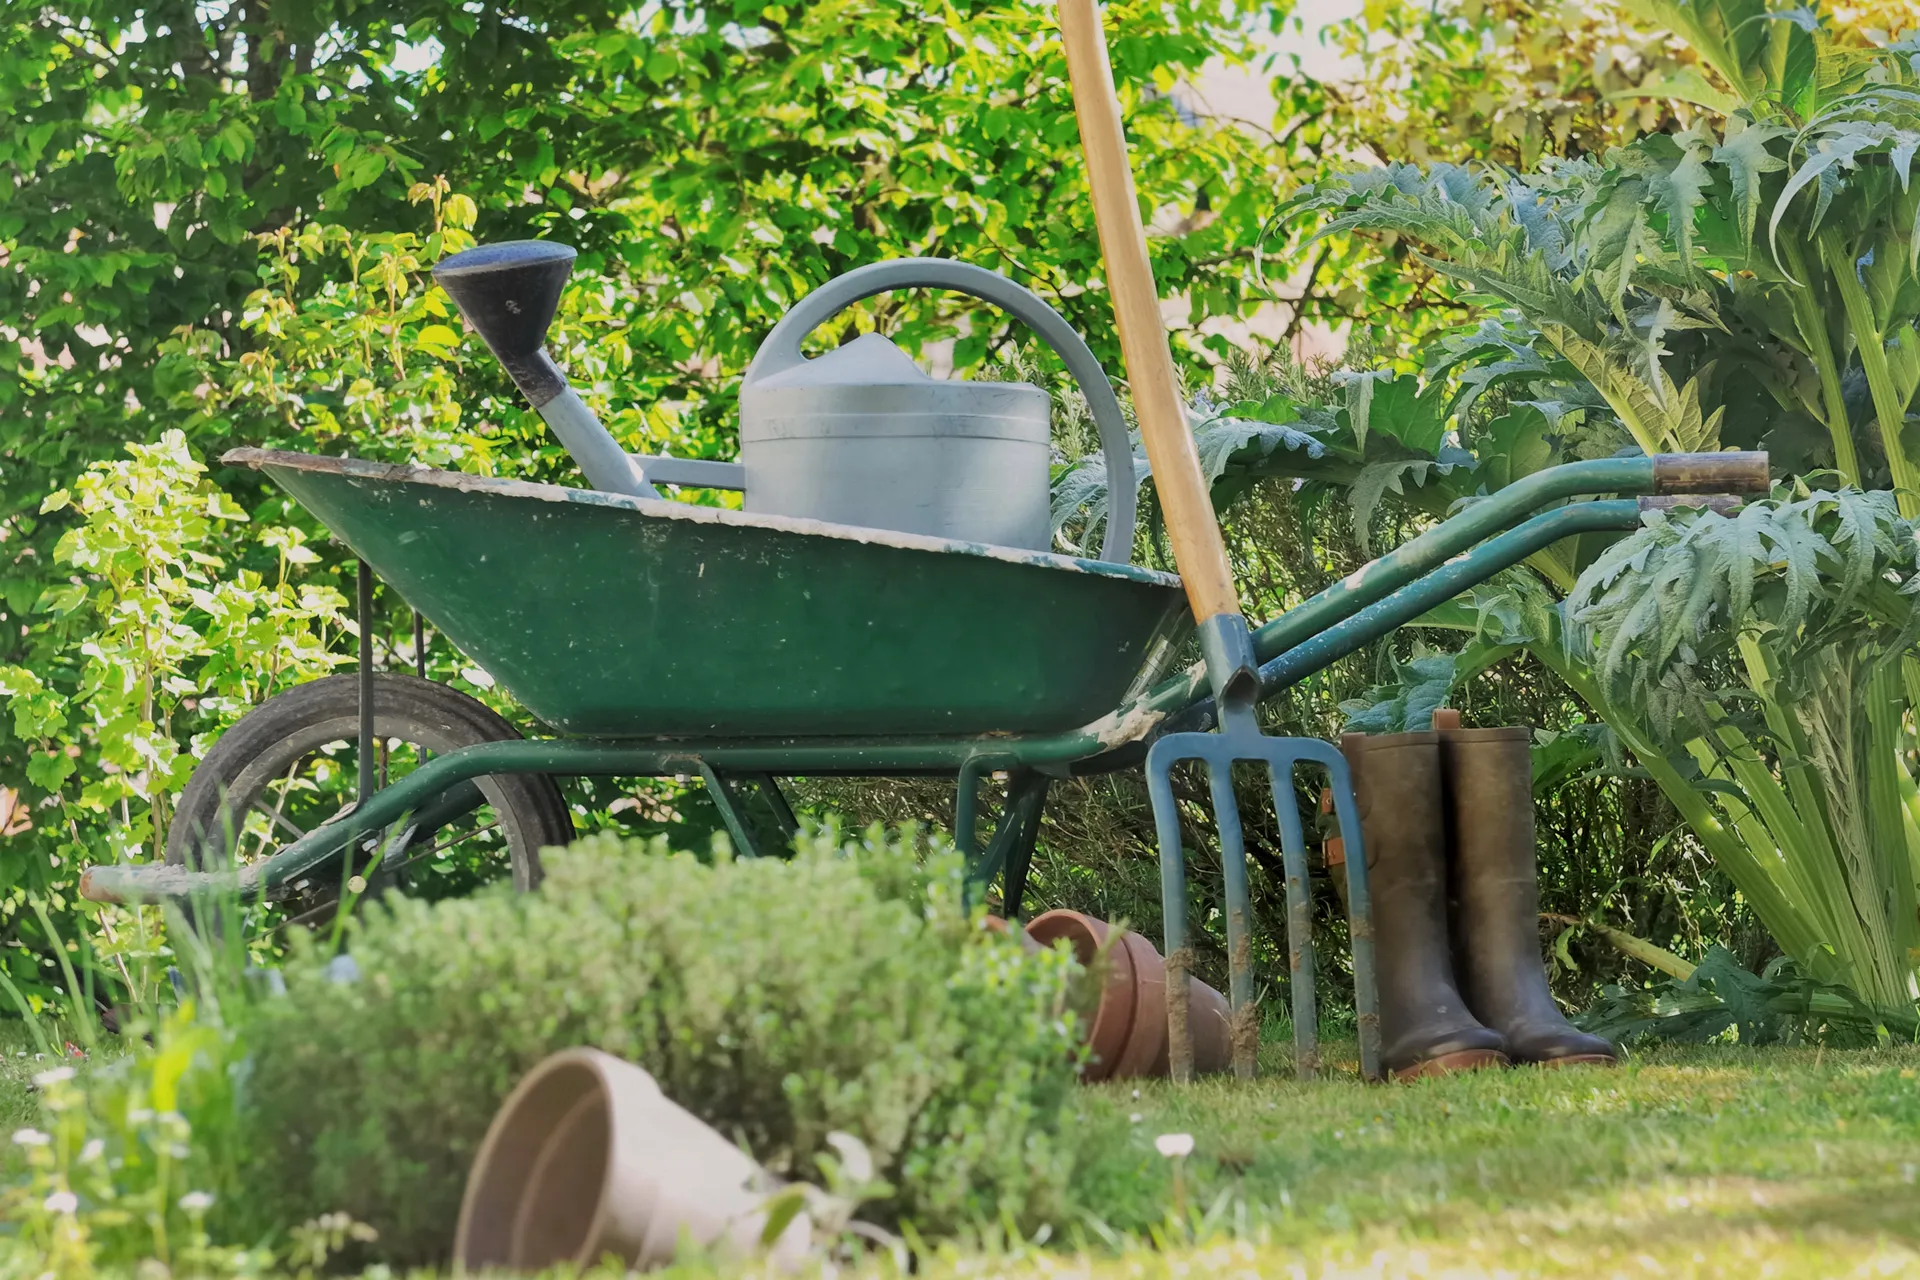
When winter is fast approaching, and as the gardening season winds down, it’s time to turn our attention to the care of our garden tools. Neglecting proper cleaning and storage practices during the winter months can lead to rust, corrosion, and a shortened lifespan for your gardening essentials. Here are the best ways to clean and store garden tools to ensure they’re ready for action come spring.
Why Clean and Store Garden Tools for Winter?
Garden tools, like any equipment, benefit from regular maintenance. Cleaning and storing them correctly for winter offers several advantages. It prevents rust and corrosion, which can be the end of metal tools. It extends the lifespan of your tools, saving you money in the long run. Proper storage ensures your tools are ready to be used in your garden again in the spring.

Essential Tools for Cleaning
You’ll need brushes, rags, and wire brushes to remove debris and soil. A bucket filled with soapy water will be your cleaning station, and lubricating oil to prevent rust.
Step-by-Step Cleaning Process
When you clean and store garden tools there is a simple cleaning process you should follow.
- Remove soil and debris: Start by removing any visible soil or debris from your tools.
- Scrub the tools: Use a brush or wire brush to remove any stubborn dirt and grime.
- Soak in soapy water: Dip the tools in a bucket of soapy water to break down the remaining residue.
- Dry thoroughly: Ensure your tools are completely dry before moving on to the next step.
Preventing Rust and Corrosion
Applying a thin layer of lubricating oil creates a protective barrier. When storing tools, choose a dry environment to further shield them from the elements.
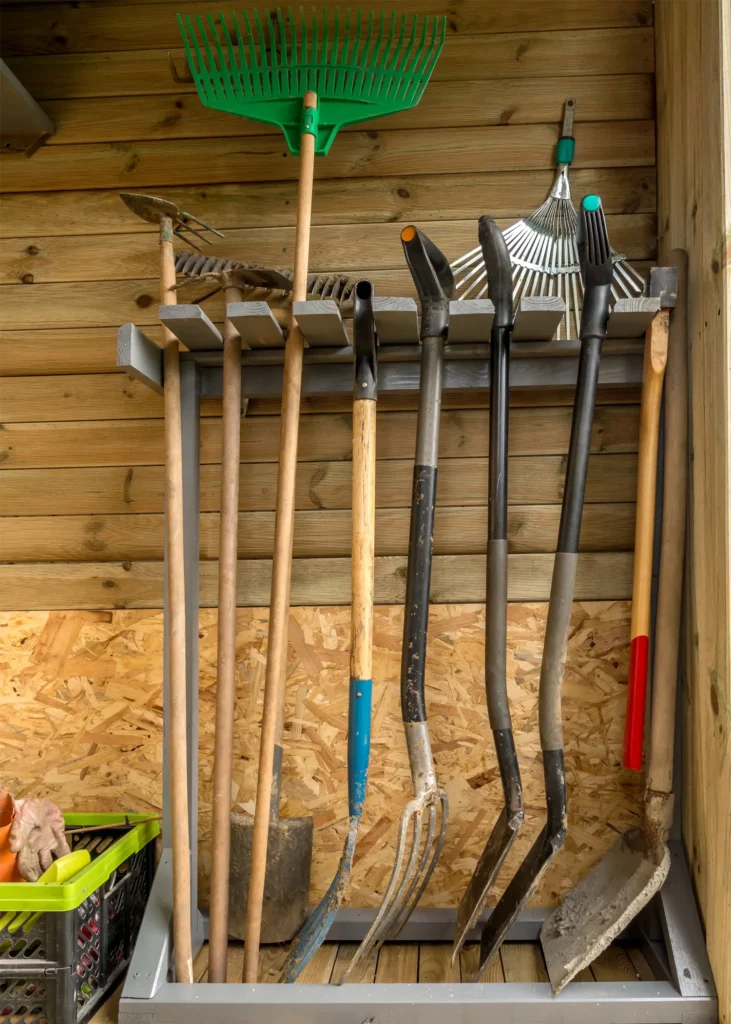
Proper Storage Techniques
Consider hanging larger tools on a pegboard or using a tool rack to keep them organized and easily accessible. Smaller tools can be kept in a toolbox.
Clean and Store Power Tools
For power tools, a bit more attention is required. Clean blades and attachments, check and change lubricants, and store them in a climate-controlled space to avoid temperature extremes.
Tips for Wooden Handle Maintenance
Wooden handles also need care. Clean and oil them to prevent drying and cracking, and avoid leaving them in prolonged contact with moisture.
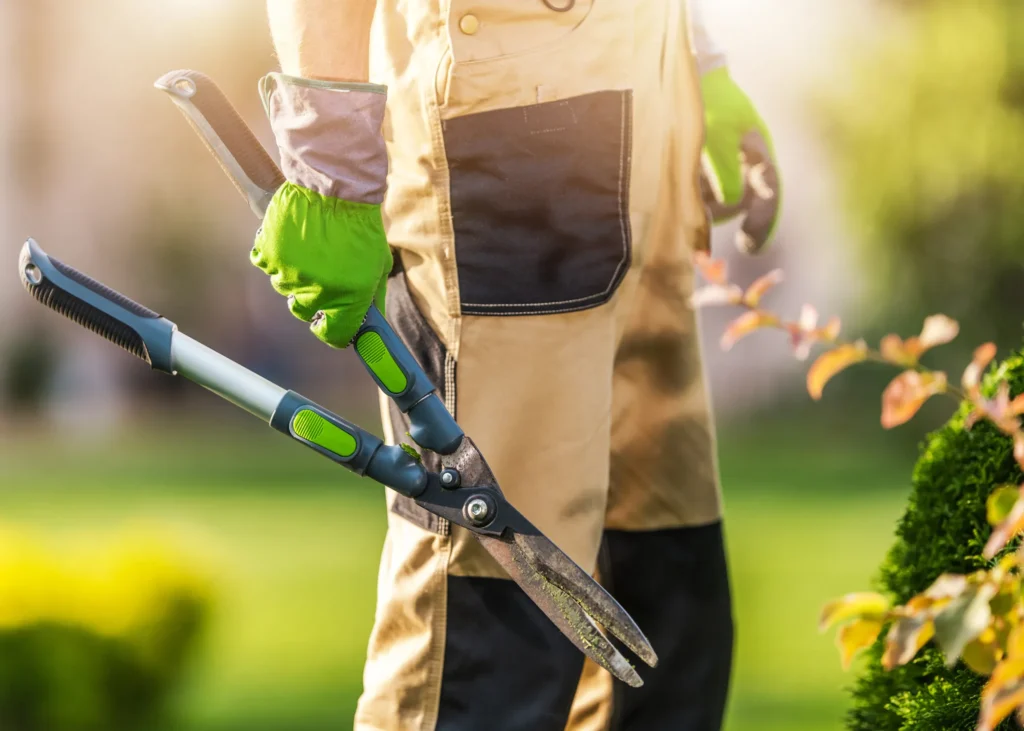
Sharpening Blades and Edges
Sharp tools make gardening tasks more manageable. Identify the tools that require sharpening and follow the step-by-step guide below to ensure precision.
1. Gather Your Tools:
Before you start sharpening, gather the necessary tools. You’ll need a sharpening tool (such as a sharpening stone or file), safety gloves, and safety goggles.
2. Inspect Your Tools:
Lay out all your garden tools and visually inspect each one. Look for signs of wear, such as dull blades, nicks, or chips. Tools like pruners, shears, hoes, and shovels often benefit from regular sharpening.
3. Safety First:
Put on your safety gloves and goggles to protect your hands and eyes during the sharpening process. Safety is very important, especially when dealing with sharp tools.
4. Clean the Tools:
Before sharpening, clean the tools to remove any dirt, sap, or debris. A wire brush or a rag works well for this step.
5. Secure the Tool:
Secure the tool you’re sharpening in a vice or on a stable surface. This makes sure the tool is stable and prevents accidents during the sharpening process.
6. Choose the Right Sharpening Tool:
Depending on the type of tool, choose the appropriate sharpening tool. For instance, use a sharpening stone for finer edges and a file for larger blades.
7. Find the Right Angle:
Identify the bevel angle of the tool’s blade. This angle is needed for proper sharpening. Refer to the manufacturer’s guidelines or use the existing angle if it’s visible.
8. Start Sharpening:
Holding the sharpening tool at the correct angle, make smooth, controlled strokes along the blade. Move from the base of the blade to the tip, maintaining a consistent angle throughout.
9. Check Progress Periodically:
Periodically stop and check the sharpness of the tool. Run your finger lightly along the edge (if safe to do so) or test the tool on a piece of paper. Adjust your technique if needed.
10. Remove Burrs:
After sharpening, you may notice small burrs or metal fragments on the blade. Use a honing stone or a leather strop to remove these and refine the edge.
11. Repeat for Other Tools:
Repeat the sharpening process for each tool that requires attention. Take your time to ensure each tool is sharpened correctly.
12. Oil and Store:
Once all tools are sharpened, apply a thin layer of lubricating oil to the blades. This helps prevent rust and keeps the edges sharp. Store the tools in a dry place.
13. Regular Maintenance:
Make sharpening part of your regular tool maintenance routine. A sharp tool not only makes gardening tasks easier but also promotes plant health by creating clean cuts.
14. Consider Professional Sharpening:
If you’re unsure about sharpening or if your tools have significant damage, consider taking them to a professional sharpening service. They have the expertise and tools to restore your equipment.
15. Educate Yourself:
Take the time to learn about the specific sharpening requirements of each tool you own. Different tools may have different blade shapes and angles, requiring specific techniques.
Protecting Electric Cords
Inspect electric cords for damage, and coil and store them properly to prevent wear and tear.
Maintenance Schedule
Set a regular cleaning and maintenance routine. A little attention throughout the year will pay off when your tools are in prime condition for the next gardening season.
As the gardening season comes to a close, investing time in cleaning and storing your garden tools is a small effort with significant returns. Preventing rust, ensuring sharp blades, and maintaining the integrity of your tools will make your gardening experience more enjoyable and efficient in the spring. Follow the outlined steps, and your tools will thank you with years of faithful service.